
Supplies:
Button or bead for the clasp
Beads with a little larger hole
Beading thread
Leather cord (1 to 2mm)
Big Eye beading needles
Cutters
Glue


Steps:
1. Cut a 24 inch piece of leather and 4 feet of thread. Center the button the leather and tie an overhand knot and pull tight. Get as close to the button as you can.


2. String a big eye needle on each end of the beading thread.


3. String one bead onto your thread and center it. Place this bead in between your leather cords just beneath your button. The thread should lie on top of the leather cords.

4. Flip the leather over the top of the thread and pull the threads down to the center in between the leather cords. The thread is now underneath the leather.

5. Thread the beading needs through the top bead in opposite directions (right needle goes through the bead towards the left and left needle through the bead towards the right). Pull tight. This will anchor the bead. The thread is now back on top of the leather.


7. Repeat the above step until you reach your desired length. When you wrap your bracelet around your wrist, the last bead and the first bead should touch.

(halfway there!)
8. When you have finished adding beads, flip the leather over the top of the thread and string the needles through the last bead in opposite directions. You'll be able to see the thread wrap around the leather pieces. This is very similar to step 5.

9. Remove the needles, tie a knot with the thread right below the last bead and add a dob of glue. Trim the thread.


10. Tie an overhand knot with the leather cords right below the last bead and pull tight.


11. Use the button to measure how big to make the end loop. Tie another overhand knot to complete the loop.

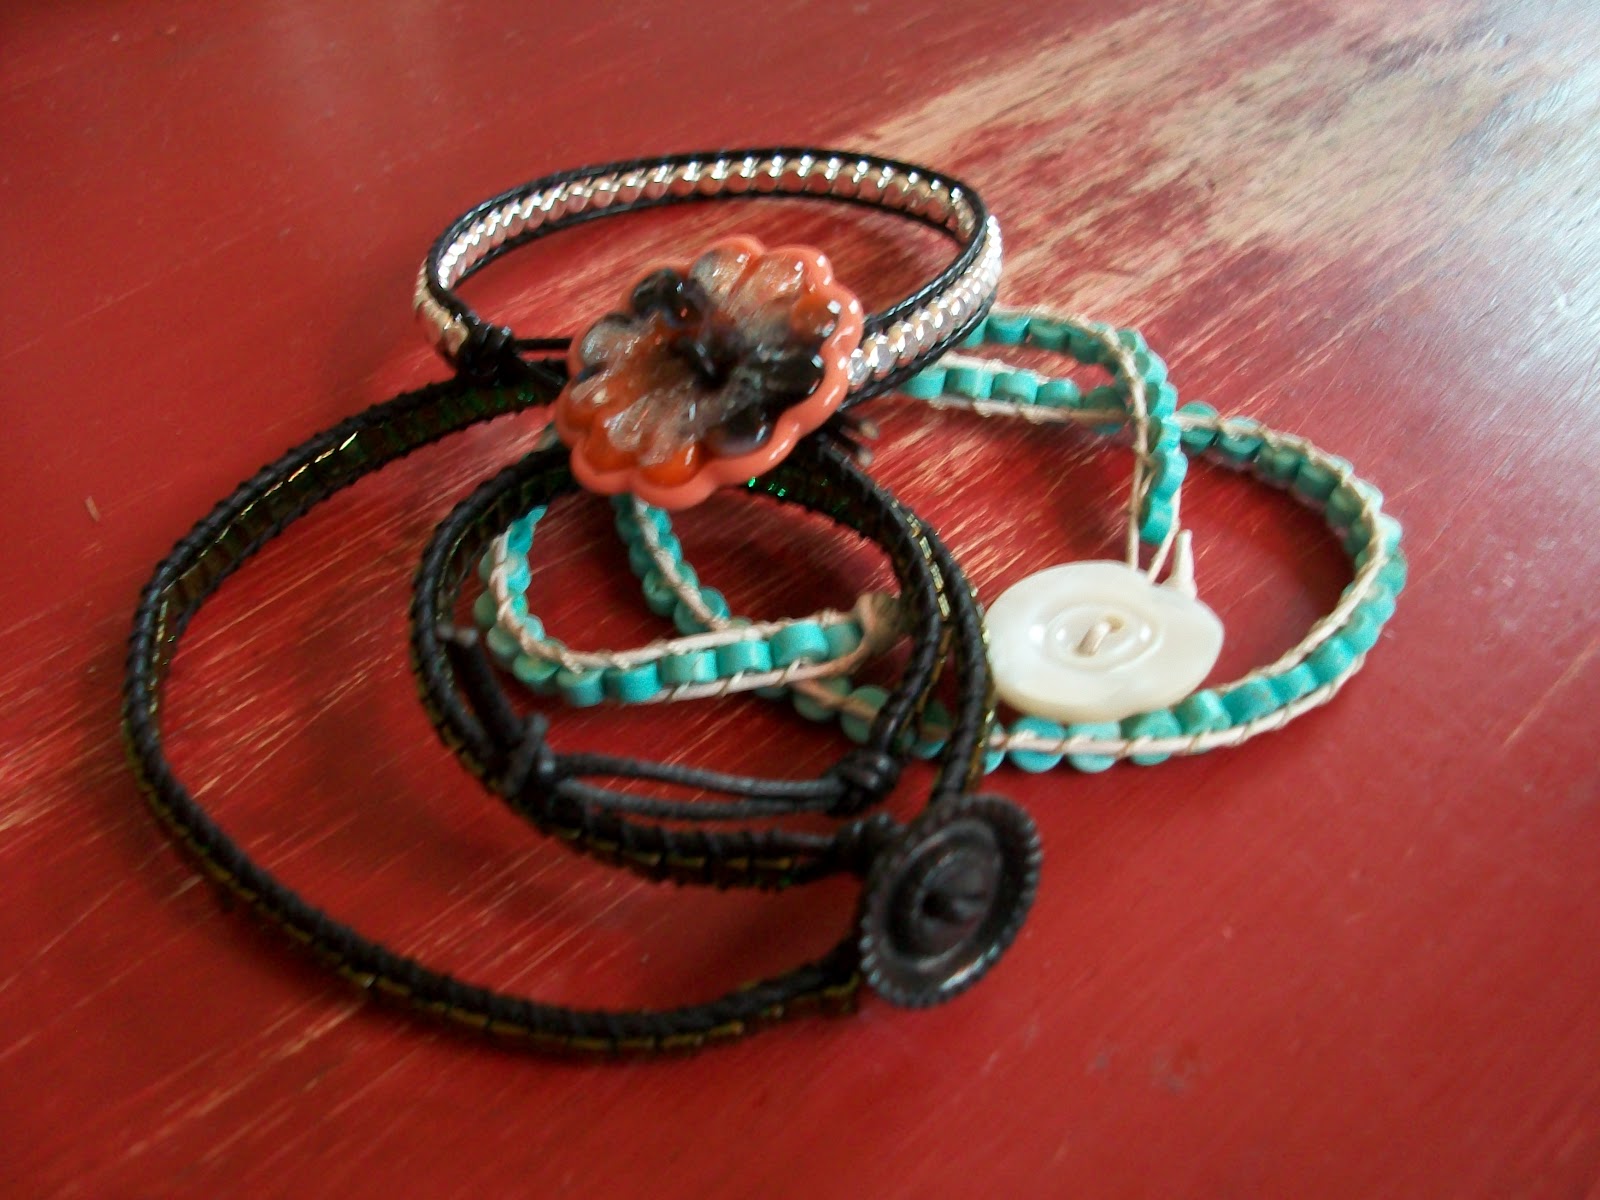
After you trim the excess leather, you're done! Now you can make as many leather wrap bracelets as you want. These instructions are for single wrap bracelets, but you can make double and triple wrap bracelets as well! Please use these instructions for your own personal use only. I hope you enjoyed this tutorial. :)
nice post a leather bracelet
ReplyDeleteYour choice of silver square cubes looks great with the black cord. I've made quite a few of these but never used 2 threaded needles. It's a good move...I'm going to try. Thanks, great job
ReplyDeleteexcelent only i like to know the name of the thread and number
ReplyDeleteThank you
Thank you for this! I've been wracking my brains for something to connect two strips of a beaded bracelet. This will work beautifully. I now have my afternoon planned ;-D
ReplyDeleteEllen
hermoso gracias por enseñarnos
ReplyDeleteCannot wait to try this. I have looked at many tutorials but yours is the best.
ReplyDelete